
Learn how to make this dreamy and rustic homemade ricotta tart, with step-by-step photos and helpful kitchen tips. This healthy dessert idea has a gluten-free crust, and a no bake filling that compliments almost any fruit (though stone fruit and berries are a match in tastebud heaven here!). Perfect to celebrate and enjoy with loved ones.
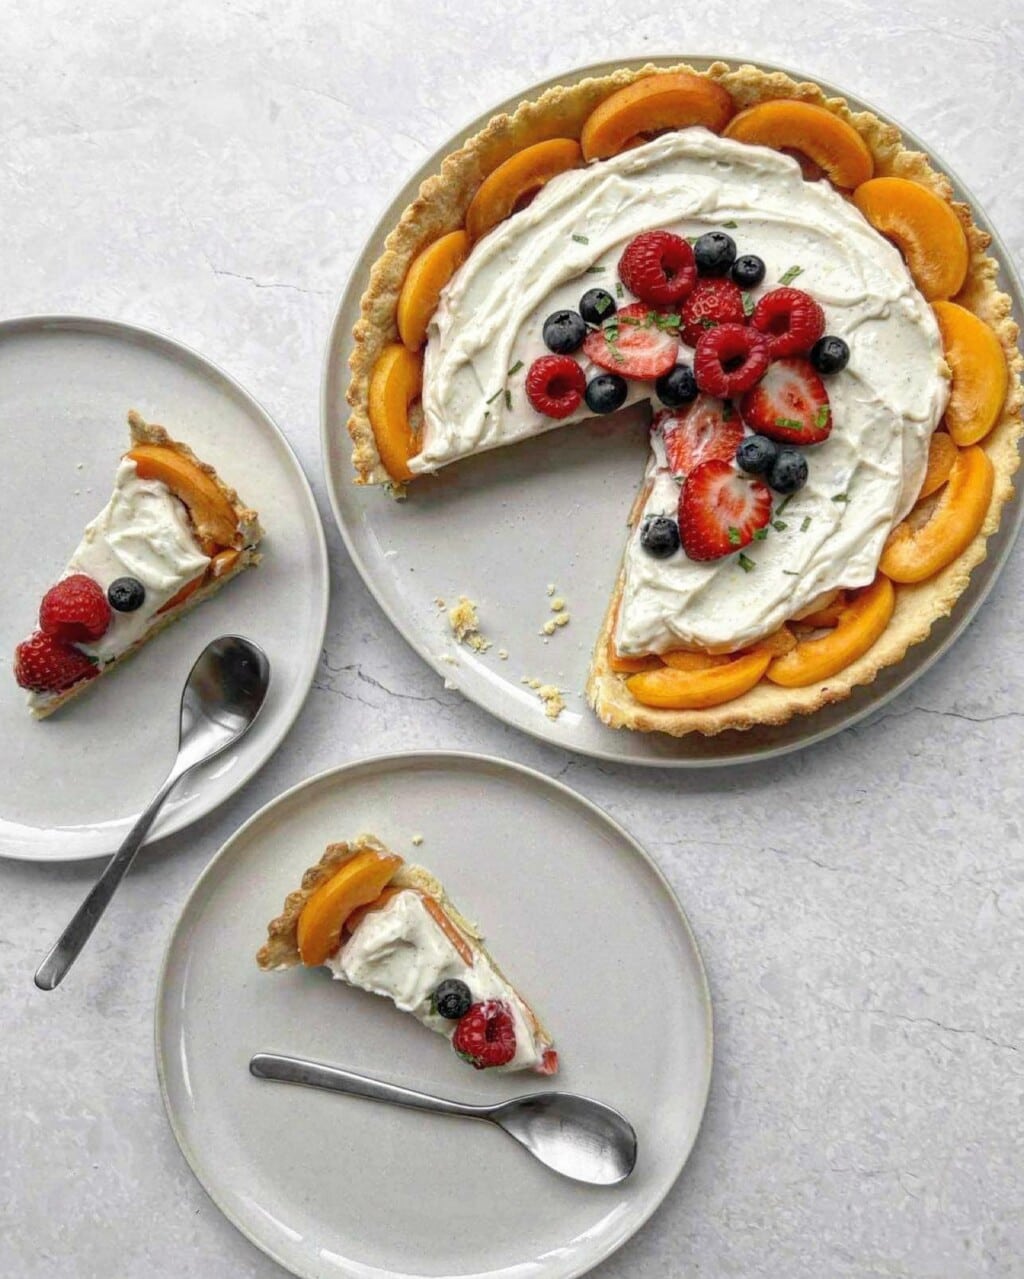
When I’m after a showstopper of a dessert to woo friends, this is my pick. It’s delicious and pretty on the eyes – the combination of fresh fruit, creamy whipped ricotta and a buttery shortbread-like base is divine.
As a Registered Nutritionist, I’m all about celebrating nature’s bounty – like fresh fruit! This healthy fruit dessert idea features stone fruit, berries and lemon, which add beautiful flavour (and a rainbow of nutrients).
It’s a great sweet treat for my friends after gluten-free recipes too. The tart crust uses almond flour and gluten-free flour, making the entire dessert free from gluten and suitable for those with gluten intolerances or celiac disease.
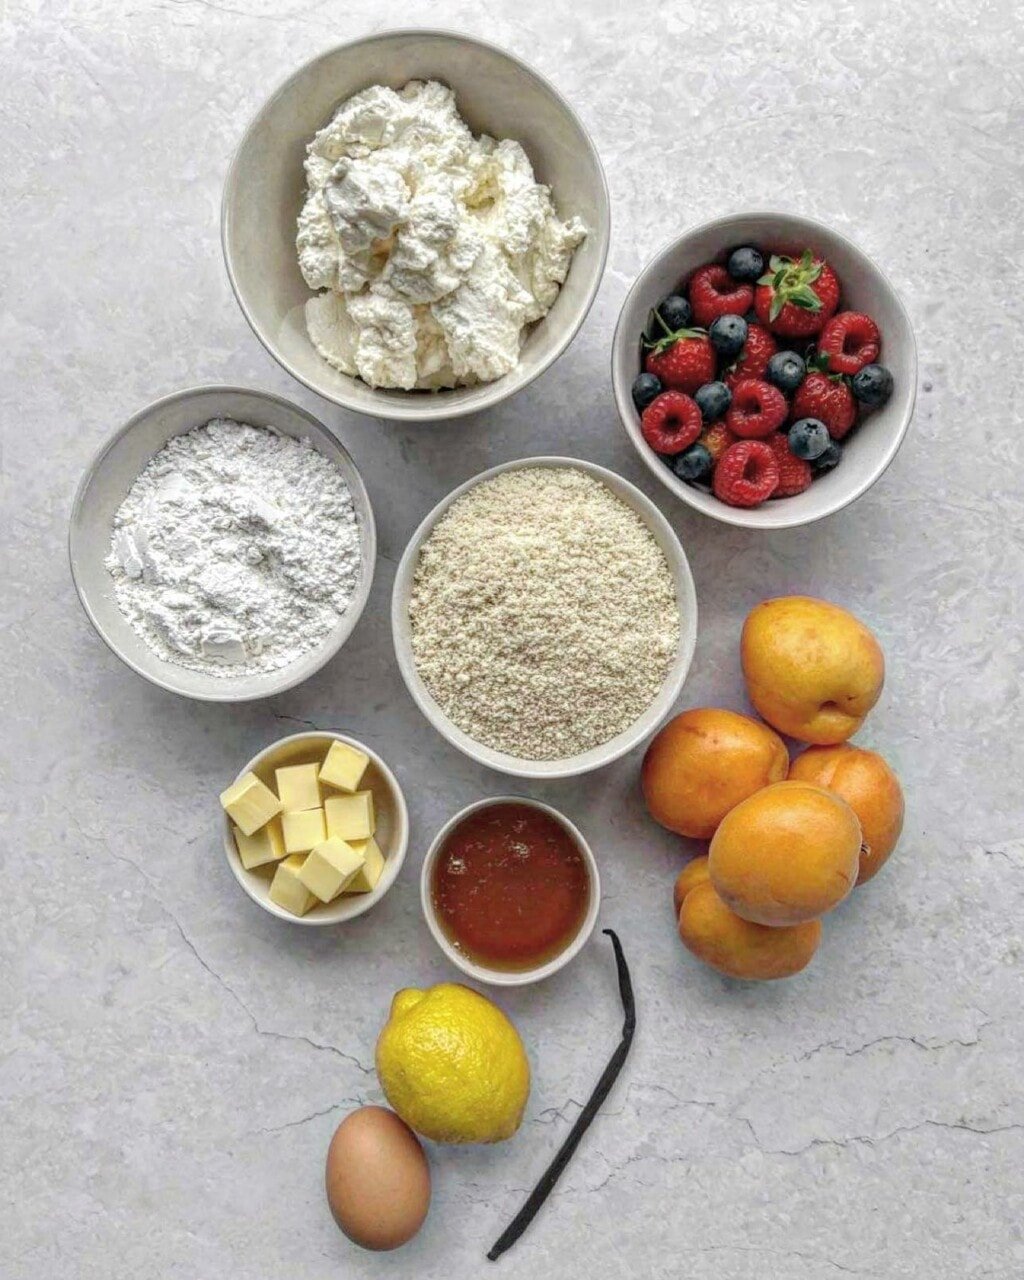
Gather Ingredients
- Almond flour. A rustic ‘flour’ made of finely ground raw almonds. Swapping part regular flour for almond flour in baked goods will lower the total carbohydrate content and boost nutrient diversity.
- Plain gluten-free flour. This looks, tastes (kind of) and acts like stock standard flour. I find commercial gf flours great – they’re usually a blend of grains, like rice, corn or tapioca, which have great functionality. Not gf? You could swap for plain flour.
- Unsalted butter. For wonderful flavour and texture in our tart crust.
- Runny honey. Just a bit, to sweeten up the crust.
- Egg. To help bind the crust. I use a size 7 egg aka large (62g).
- Soft whole-milk ricotta. A thick Italian white cheese with a mild taste. It’s naturally grainy in texture, which we’ll be transforming creamy, dreamy and smooth with the help of a food processor.
- Vanilla bean. A thin dark brown pod, packed with teeny tiny seeds. These add a sweet fragrant vanilla flavour and beautiful black specks to the ricotta.
- Lemon zest. Unlike the juice, zest contains essential lemon oils that add flavour without acidity. Aim for around 1 Tbsp aka a medium lemon.
- Berries and apricots. Ideal at seasonal best! Feel free to swap for other soft fruit e.g. nectarines, plums or kiwifruit. Even drained tinned fruit would be lovely.
- Fresh mint leaves (optional). For a flavour and green colour pop overtop.
Vanilla bean is lovely in this dessert, but it’s a premium (and spendy) ingredient. Feel free to substitute with vanilla extract – start with 1 tsp, adding extra for a more robust vanilla flavour. How much to add can vary according to the quality of the extract.
Step-by-Step: Whipped Lemon Ricotta Tart

Kitchen Tips
Here are tips to help your recipe flow:
- Spoon flour into a measuring cup. A one-way ticket to dry crumbly baked goods is overshooting the flour. Instead of dipping the measuring cup into the flour container or bag (which can unintentionally overload it), spoon into a measuring cup and level off with a knife.
- Grease the tin. Greasing is a necessary step even when using nonstick baking equipment. To do this, apply a thin layer of butter to the sides and bottom of the tin (I use a paper towel). It’ll help ensure your crust releases with ease.
- Pinch and patch the dough. As you press the dough into the tart pan, you’ll notice it starts to build up where the side of the crust meets the base. Here, pinch off excess dough and patch another part that’s a bit thin. End goal: nice even coverage.
Serving & Storage
After you’ve assembled the tart, chill it for a few hours. Refrigeration firms the whipped ricotta – not to a point where it’s rock solid, but firm enough to cut the tart and get a relatively clean slice. You can skip this part if you’re short on time; the cheese will just be softer, so the pieces won’t be as pretty when sliced.
This dessert is best prepped and served on the day you intend to eat it. However, it’ll keep well and stay yummy in an airtight container in the fridge for a few days (especially the crust alone). With time, the ricotta may release a little water, and the berries and mint won’t look as fresh.
Nutrition Q&A
Is ricotta cheese healthy? Ricotta is indeed a nutritious food, when enjoyed in moderation as a part of a balanced diet.
It’s a good source of protein, with a half-cup serve of whole milk ricotta offering around 9g (1). This makes it a fabulous addition to toast, pasta or baked goods to boost the protein content. Protein is critical for many aspects of health, like the growth and repair of our body, muscle strength, immunity and more.
Ricotta also provides a fantastic source of two important minerals key to bone health – calcium and phosphorous. These nutrients are needed for bone integrity and are naturally rich in dairy products.
This recipe was originally created for my friends at Westgold Butter, who make beautiful grass-fed NZ butter🧈 Enjoy!
Whipped Vanilla-Lemon Ricotta Tart with Fruit
Rating:

Ingredients:
Gluten-free pie crust
- 1 ½ cup almond flour
- 1 cup plain gluten-free flour
- Pinch of salt
- ¼ cup melted unsalted butter
- 2 Tbsp runny honey
- 1 egg
Whipped ricotta filling
- 500 g soft ricotta cheese
- ¼ cup runny honey
- 1 vanilla bean
- Zest of a medium lemon (approx. 1 Tbsp)
Fruit topping
- 1 cup mixed fresh berries (e.g. blueberries, raspberries and strawberries)
- 4-5 apricots
- 2 large fresh mint leaves
Method:
Prepare the tart crust
- Preheat the oven to bake 180 degrees celsius. Grease a non-stick 23cm loose base quiche or tart tin with butter.
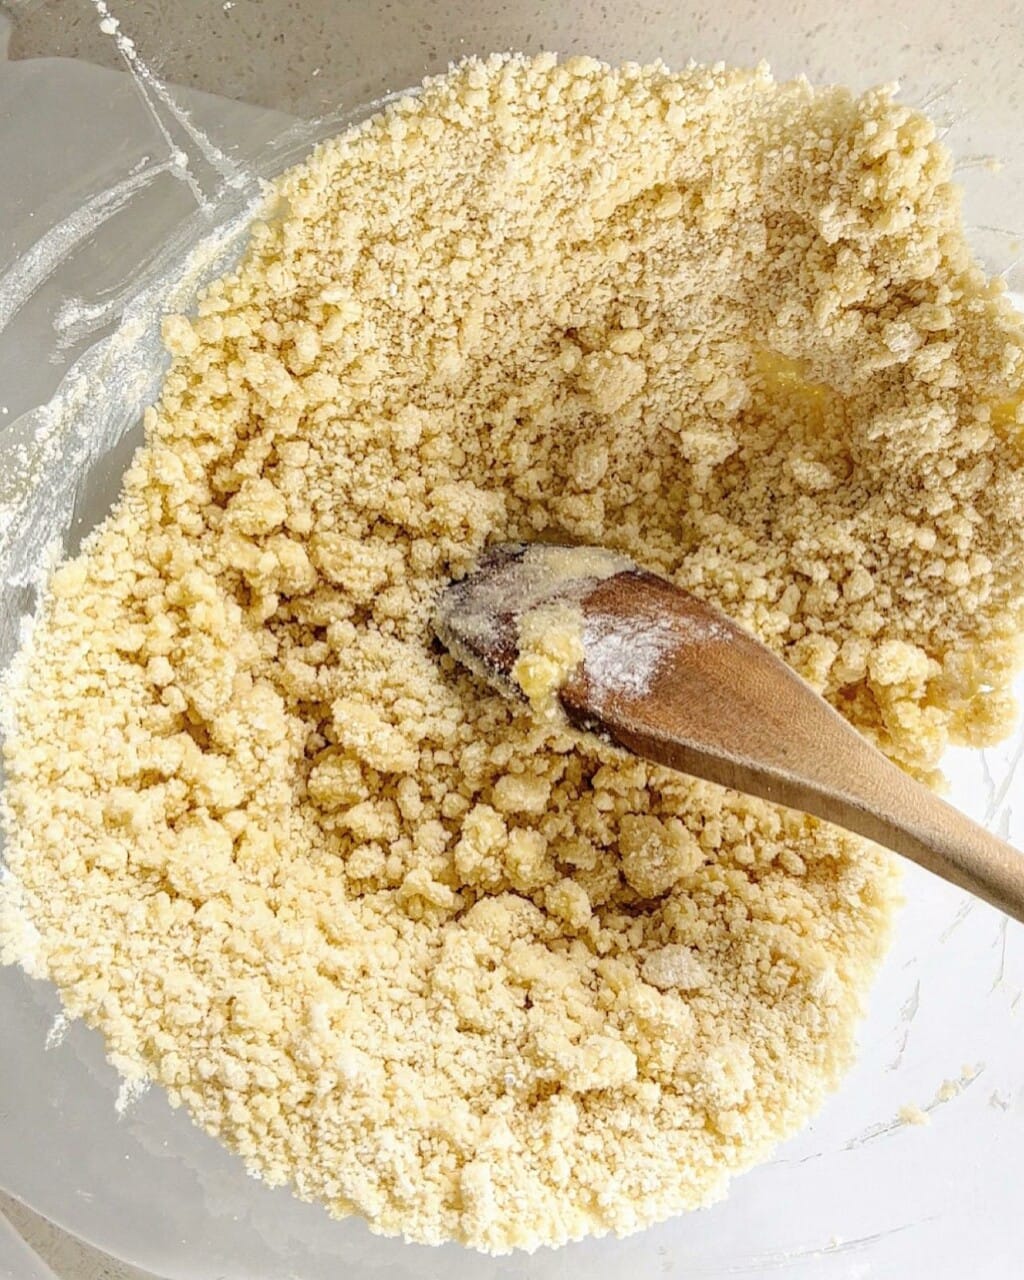
- In a mixing bowl, combine the almond flour, gluten-free flour and salt. Mix together. Add melted butter and the first measure of runny honey (2 Tbsp). Mix until crumbly.
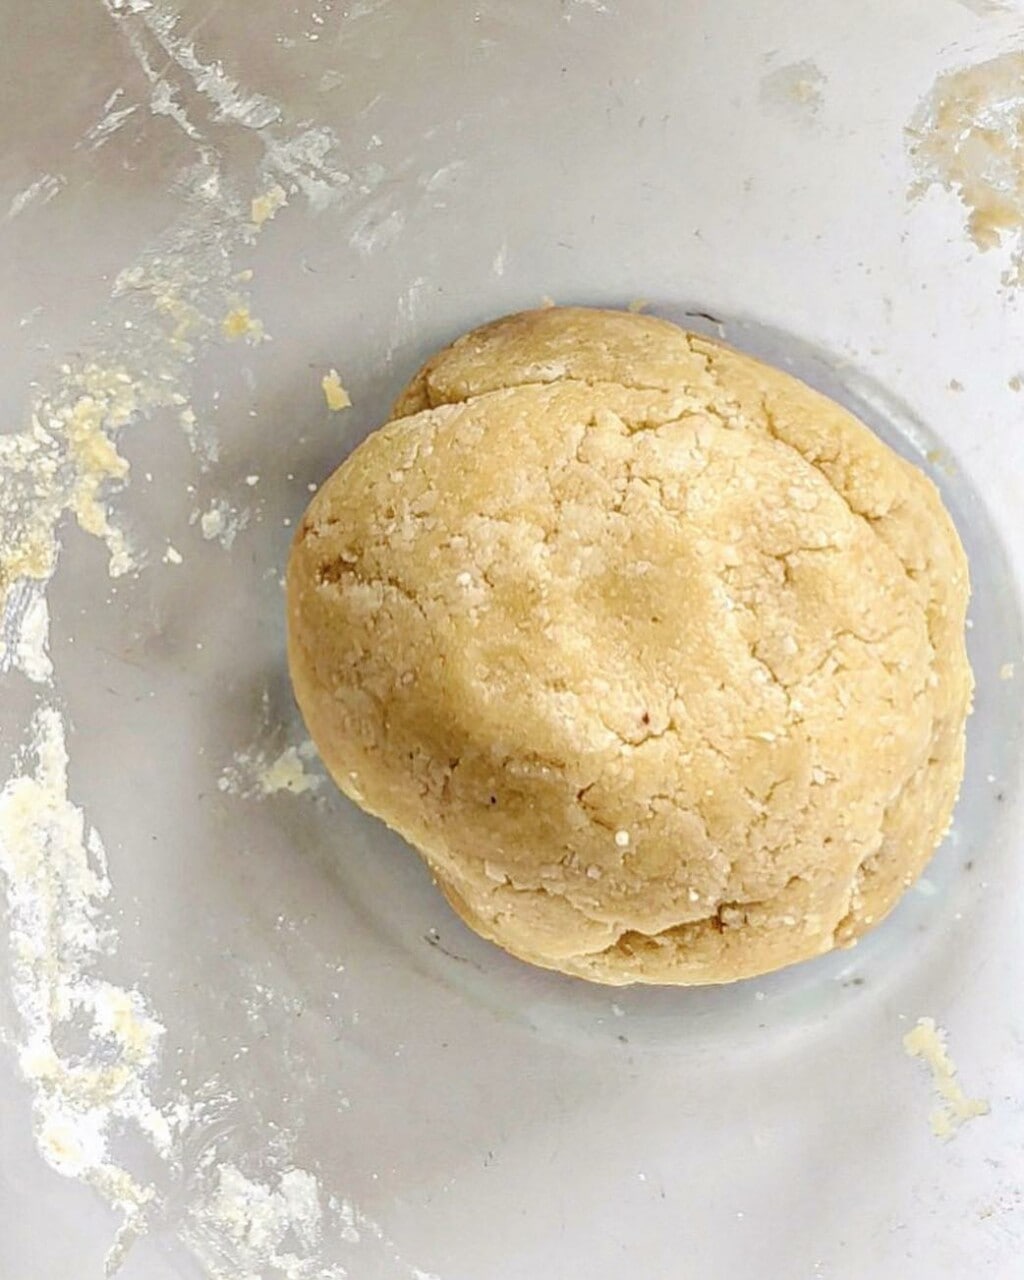
- Whisk the egg and add to the crumbly mixture. Mix until a dough forms.
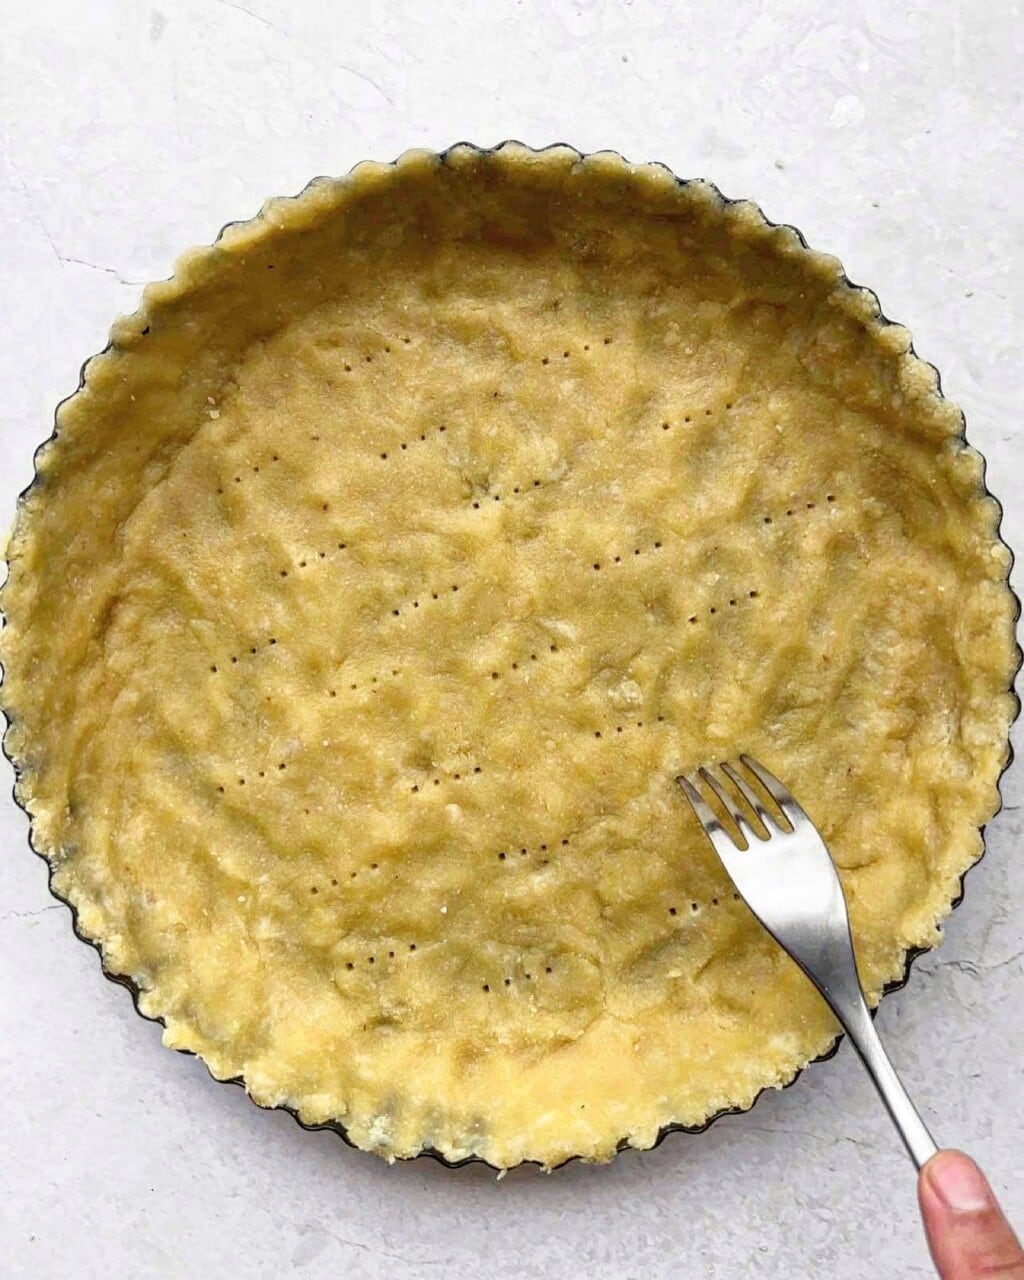
- Press dough into the quiche tin, taking time to get it nice and even. Prick holes with a fork into the base.
- Bake for 10-11 minutes. Keep an eye on it over the last few minutes as the top can quickly burn. Once cooked, remove from the oven and let cool for ten minutes before very CAREFULLY removing from the tart tin (it's delicate!). I do this by pushing up the bottom so the side is released, then sliding a wide spatula between the tart case bottom and the crust to release it.
Prepare the ricotta filling
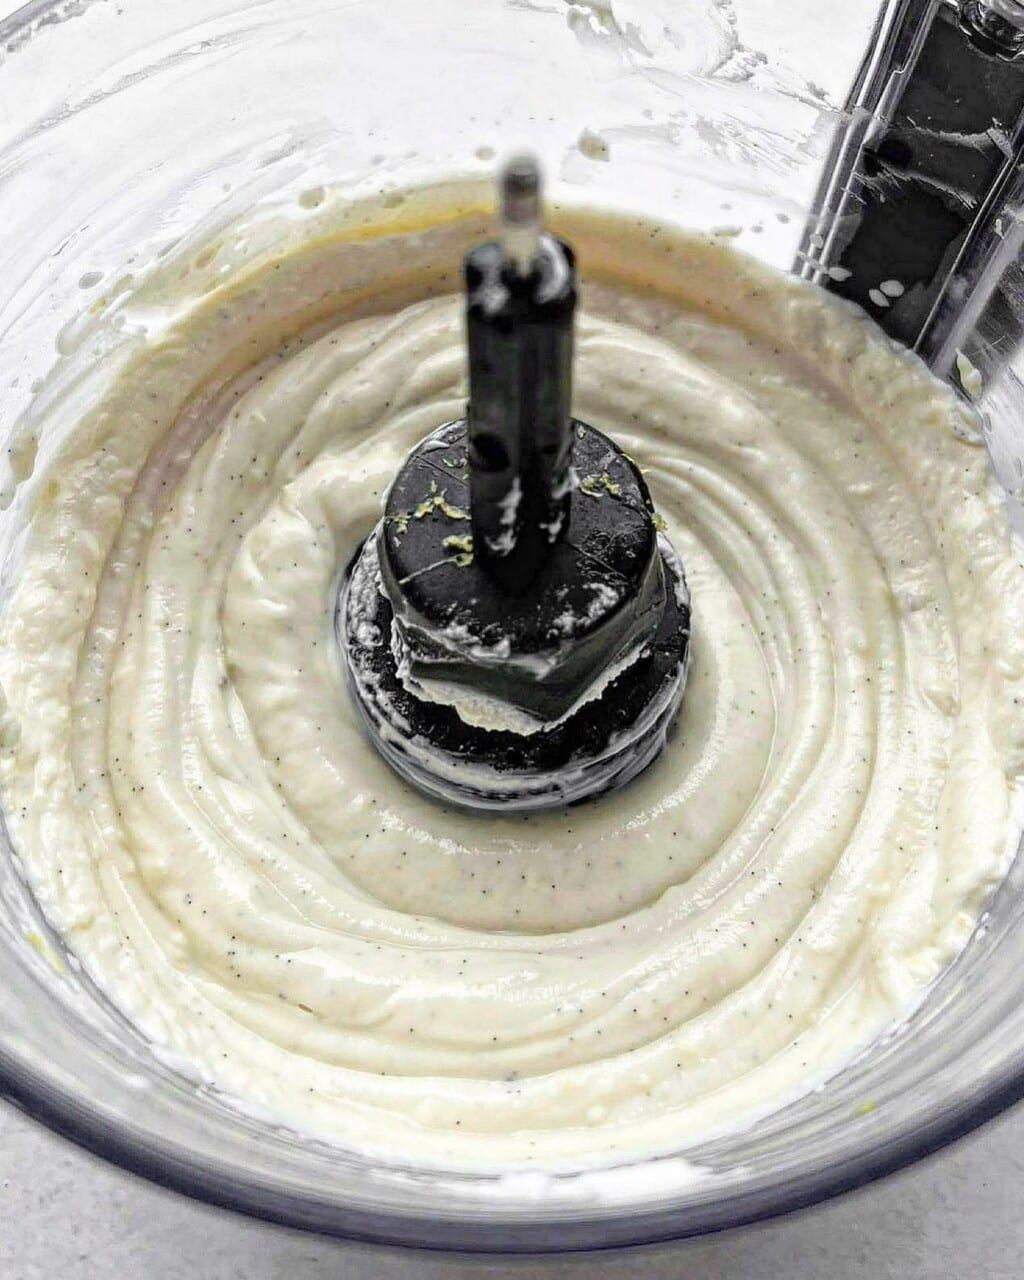
- Scrap out seeds from vanilla bean. To do this, run a small knife down the middle of the pod (only slice through one side of the skin), and use your fingers to pull open the flesh. Then, using your knife again, scrape the seeds away from the inside of the pod – as you do this they should easily build up on the knife blade.
- In a food processor, blend the ricotta for a few minutes. Add the remaining honey (¼ cup), seed of the vanilla bean and lemon zest until smooth.
Assemble the tart
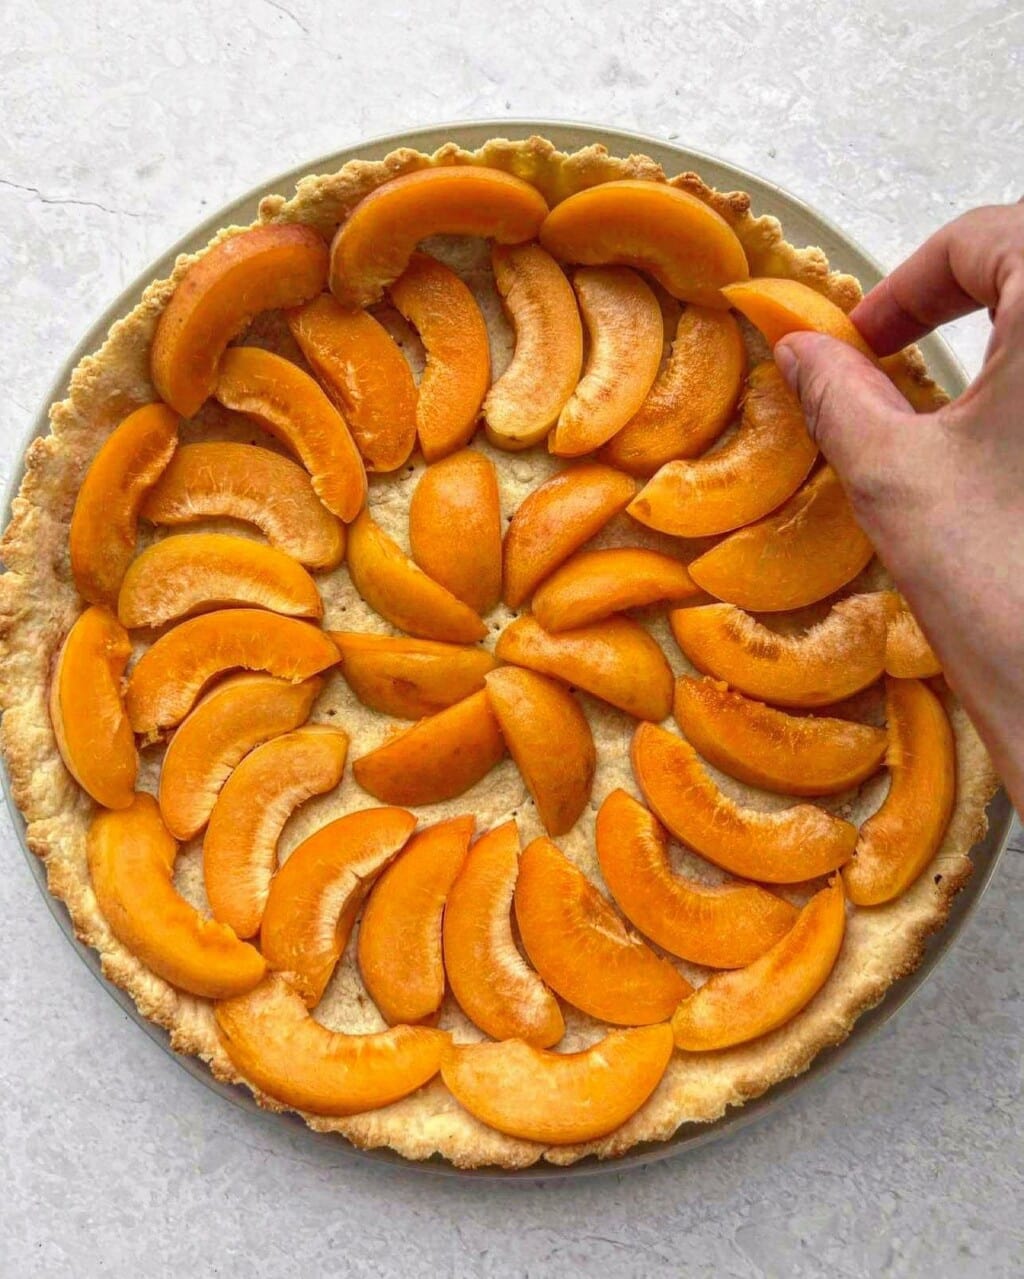
- Slice apricots in half, remove and discard the pit, then slice apricots into wedges.
- Once the tart base has fully cooled, arrange the wedges in a single circular layer across the bottom, as well as up the sides of the tart.
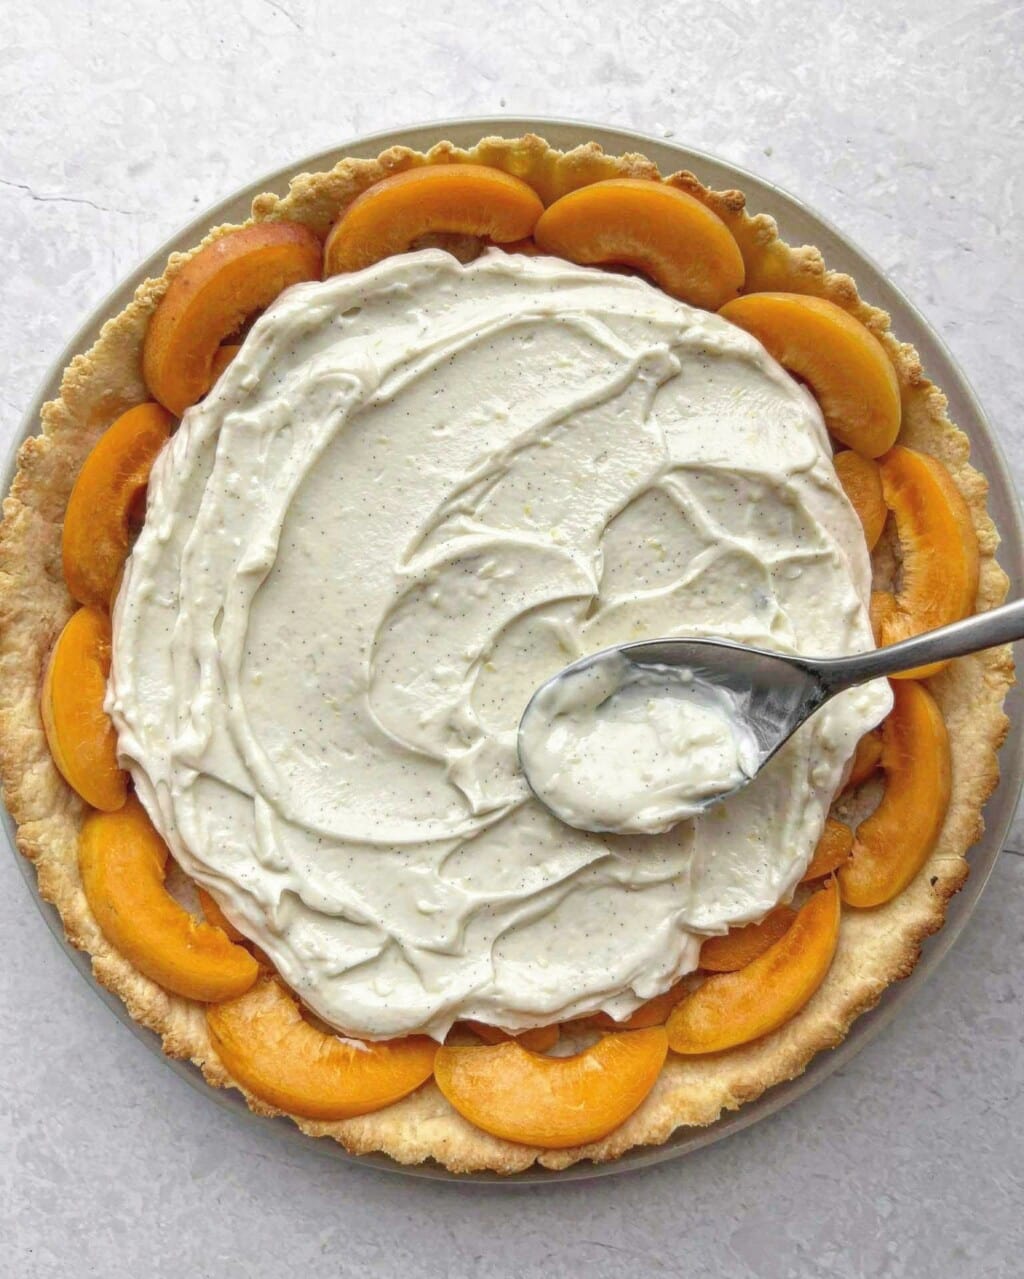
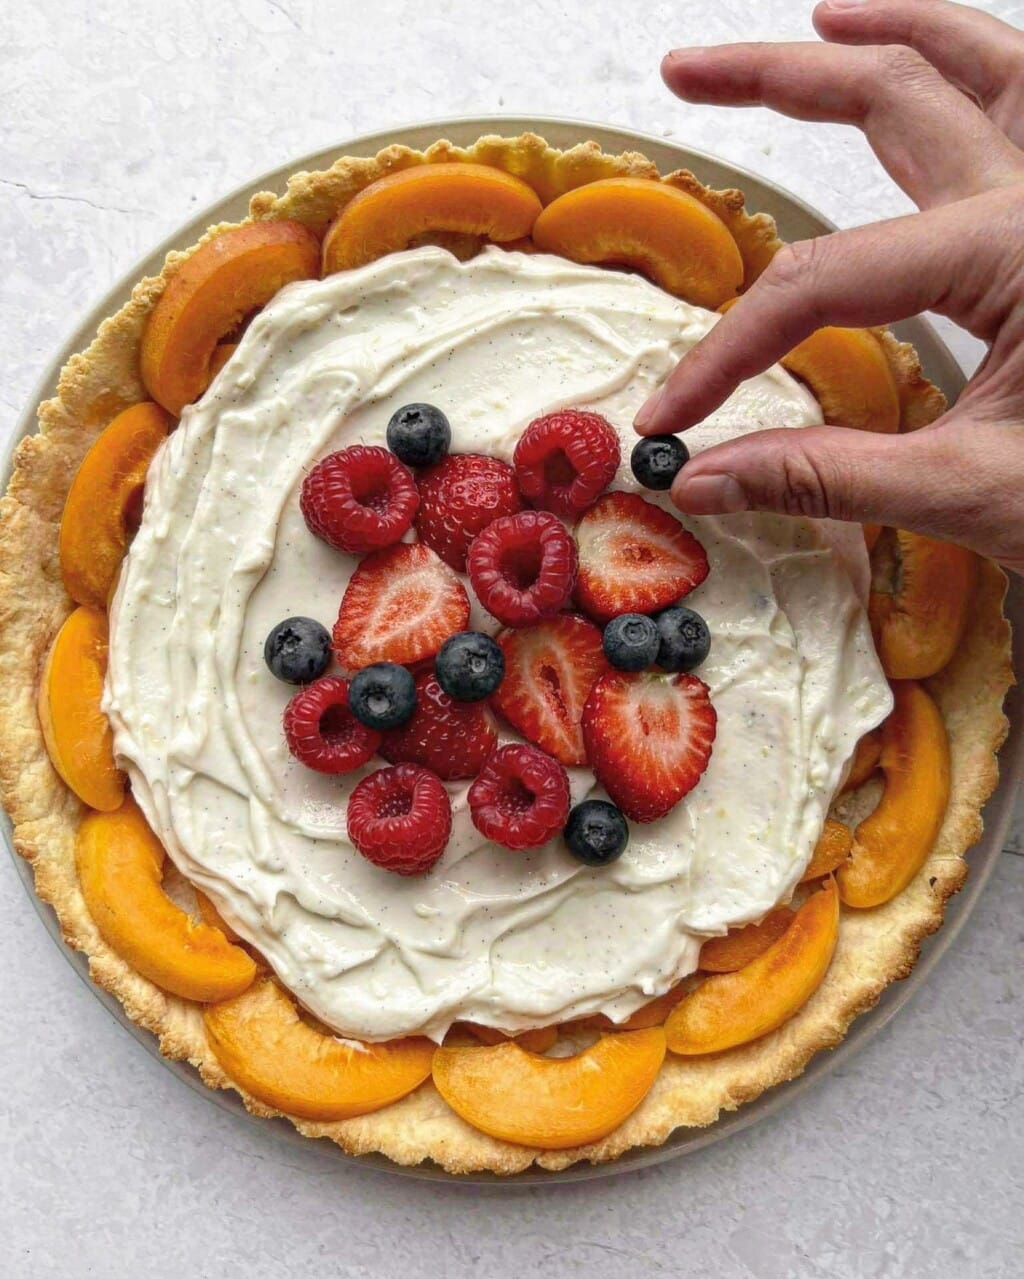
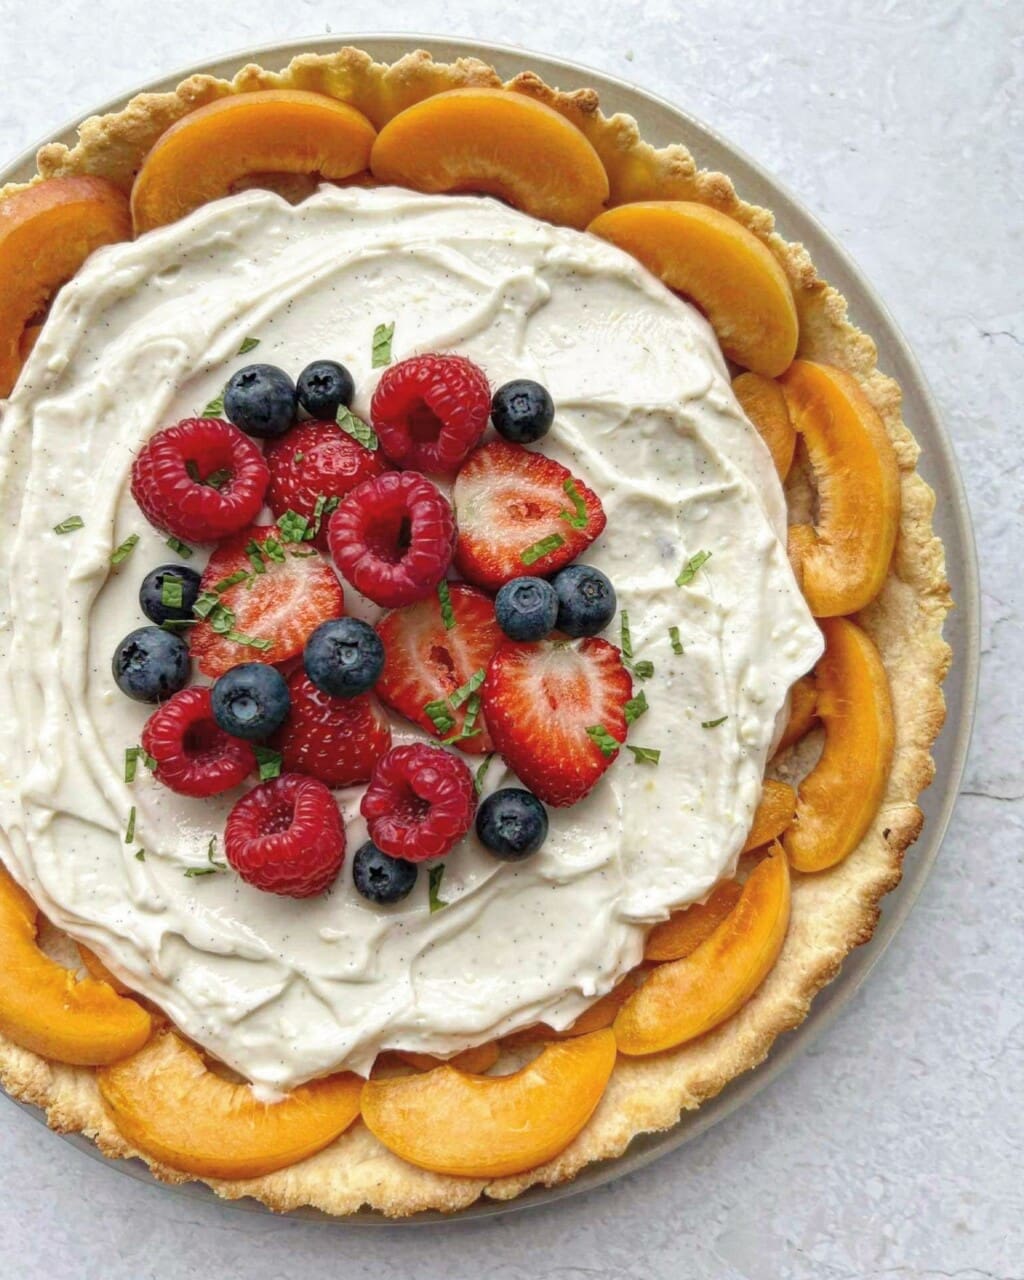
- Spoon the ricotta onto the middle of the tart and smooth to cover the apricots on the bottom of the base. Slice the strawberries (if using), and then arrange berries overtop. If you have mint handy, finely chop a few leaves as a garnish.
- Place the tart in the fridge for a few hours for the ricotta to firm.
Leave a Comment & Rate this Recipe
If you enjoyed this dish, please consider giving it a star rating when you post a comment. Star ratings help others discover my recipes online (and your reviews make my day! 🙂 ). Happy cooking and baking. Danijela x
2 Comments
Absolutely gorgeous. Lovely combination of flavours and it looked great too. Thank you!
Thank you so much Jessica! So glad you enjoyed it 🙂