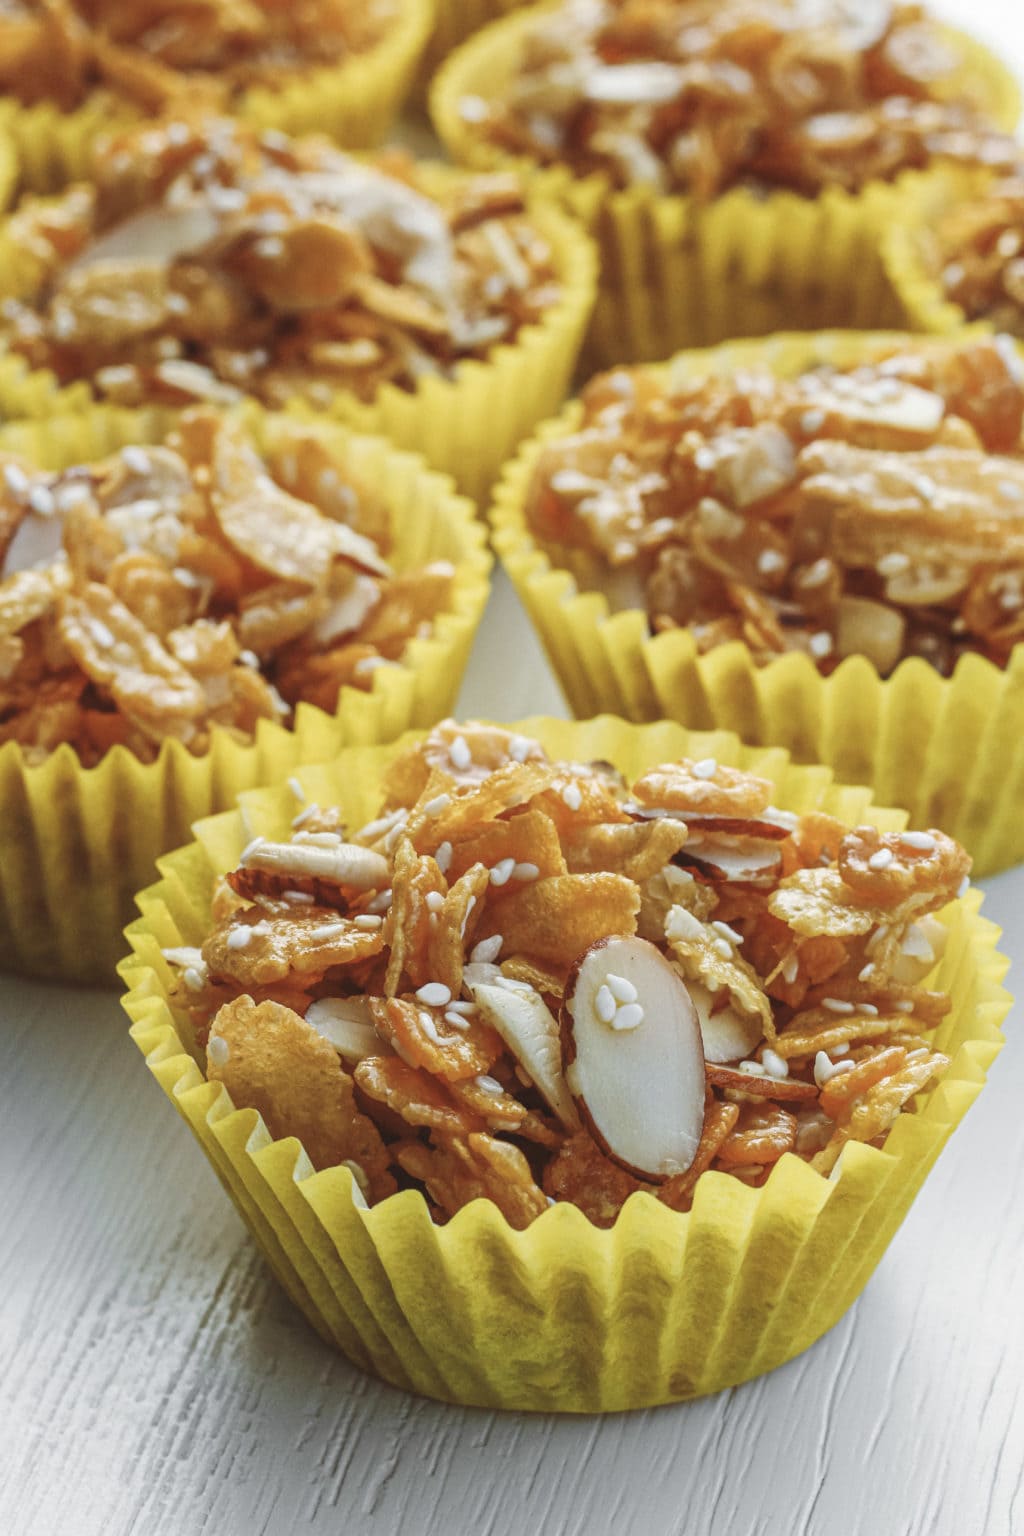
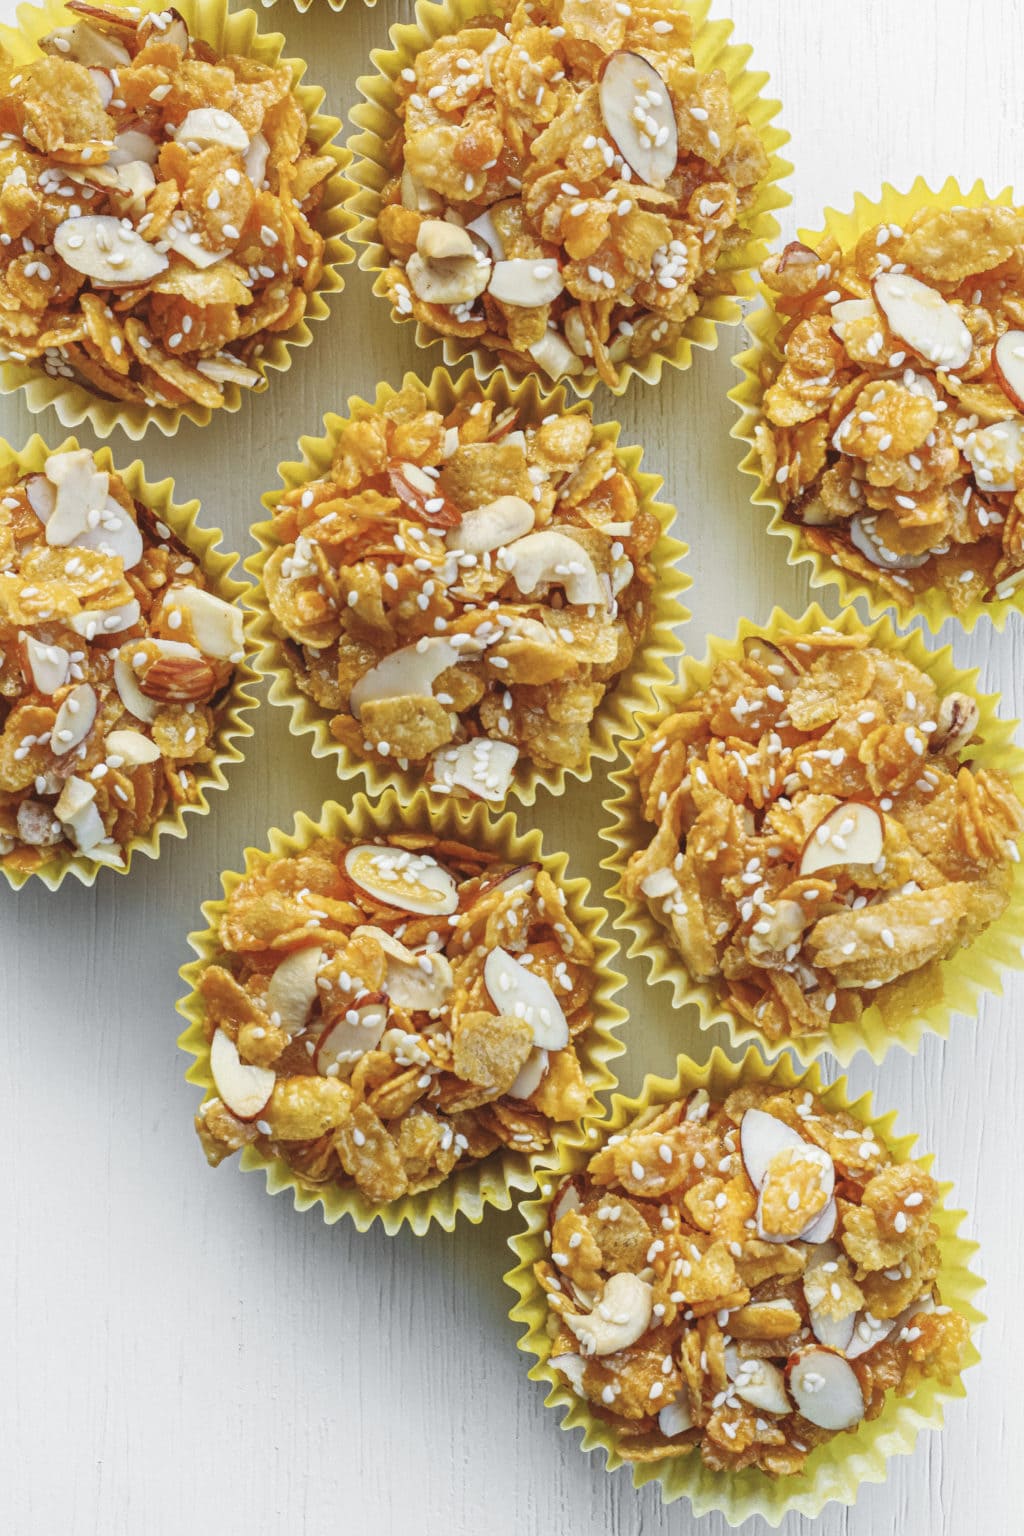
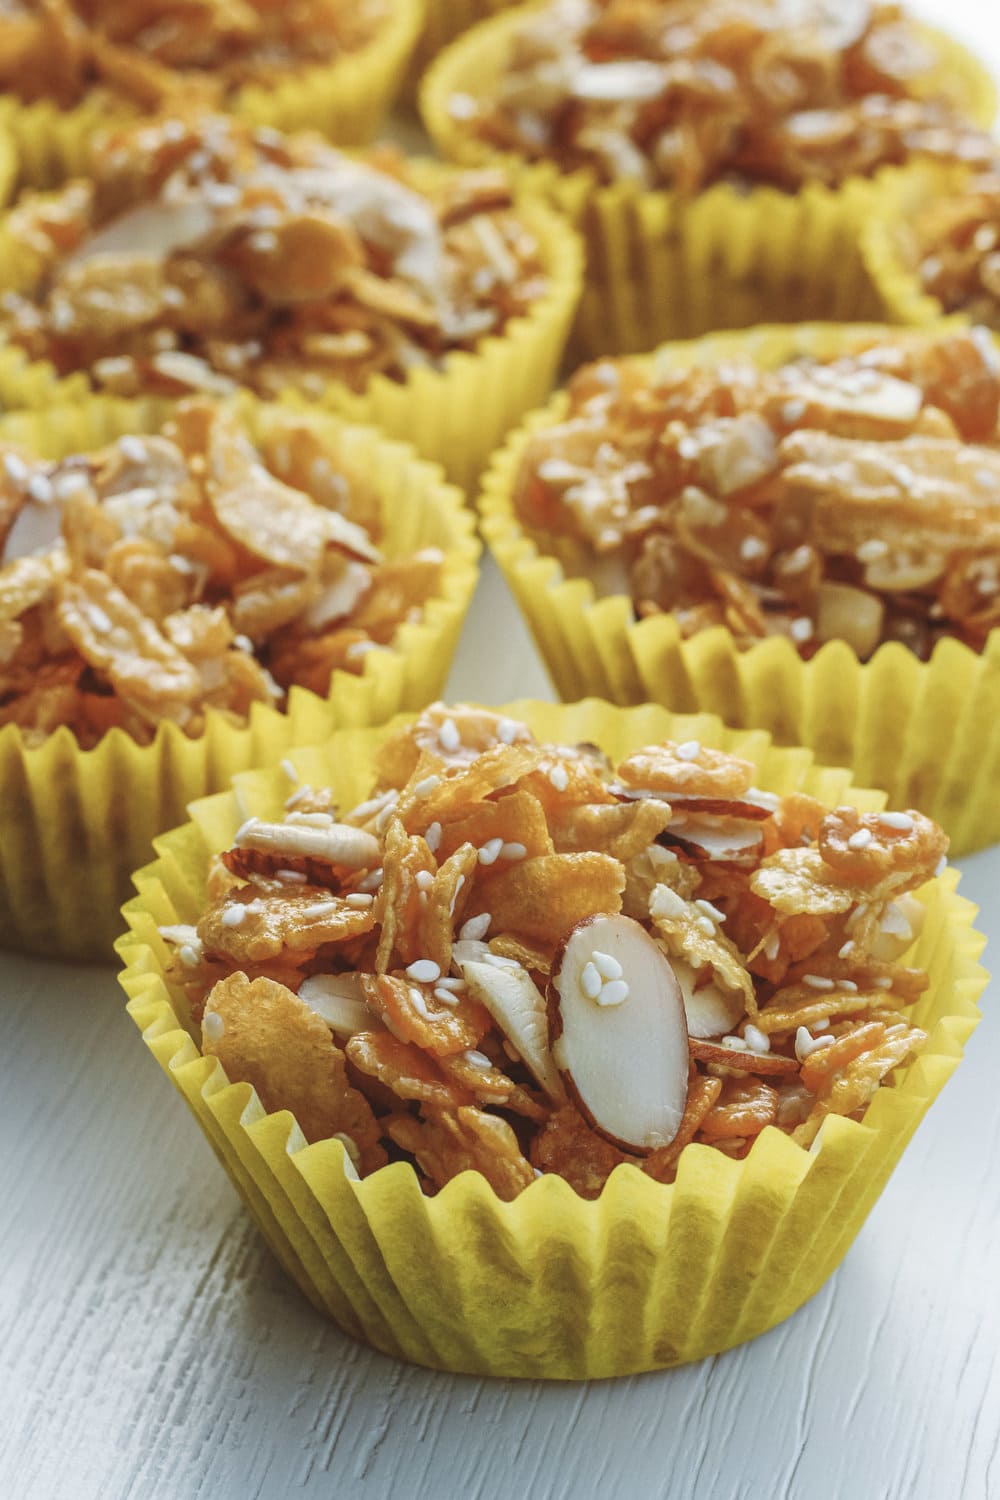
This healthier version of honey joys still includes classic cornflakes, but with added slivered nuts for extra protein and crunchiness, and no added caster sugar. Using just 7 ingredients, they're easy to prep and make for a delicious snack.

Honey joys – who remembers them? A quintessential birthday food, they held their place proudly on the party table somewhere between the colourful fairy-bread and bright red cheerio sausages of my youth.
Here’s a spin on the classic originally made with cornflakes, butter, honey and sugar. This healthy snack recipe has had a protein bump from added nuts and seeds, and less sugar – these, I promise, are still sweet enough.
As a nutritionist, I love celebrating nuts in baking for both their nutritional and culinary perks. They add epic textural crunch and nutrient diversity, by putting more protein, healthy fat and essential micronutrients into the mix👌.
Ingredients
- Cornflakes. The quintessential honey joy ingredient. This brekkie cereal is made from crispy golden cornflakes, derived from corn. While corn is naturally gluten free, cornflakes aren’t always – check your pack if needed.
- Honey. It wouldn’t be honey joys without honey! This sticky sweetener helps bind, provides a distinctive flavour and sweetness. Opt for runny, clear honey.
- Butter. The properties of butter, being a concentrated source of saturated fat, mean it solidifies in cooler temperatures (e.g. a fridge) – key for helping hold these treaties together! Go for unsalted.
- Cashews. Rich in fibre and heart-healthy fats, cashews add valuable nutrients and boost the crunch factor. Chop into thirds or quarters, otherwise a they can be quite dominating flavour and texture-wise.
- Flaked almonds are almonds that have been blanched and shaved into thin flakes. You could sub for whole almonds, just make sure to chop finely.
- Sesame seeds. As a source of healthy fats and micronutrients, like magnesium and calcium, these iddy biddy seeds pack an almighty nutritional punch.
- Salt. Just a pinch helps oomph the overall flavour. Fun fact: salt, in the right quantities, makes sweet things taste sweeter.
Kitchen Tips
These honey joys require 10 minutes to prepare, another 10 minutes to bake and an hour to set. To help ensure a perfect end result:
- Compact the combined mixture into muffin cases using the back of a tablespoon. Press down hard, with pressure, as you go. This helps give better structure, texture and body at the end.
- Bake until golden for a scrummy toasted flavour. Keep a close eye on it nearing the final minutes of baking time…the mix quickly turns from golden to burnt!
- Set in the fridge. Classic honey joy recipes hero caster sugar – this makes a glaze that holds everything together at room temperature and gives the classic ‘crunch’. This version subs in honey, which doesn’t have the same properties. To remedy, after baking set in the fridge for an hour – the butter will quickly solidify, helping provide the structural ‘glue’.

Storage
After baking and setting, keep in the refrigerator in an air-tight container. This will keep the texture on point, keeping them ace for around a week. To eat, enjoy direct from the fridge immediately.
Thanks for reading! If you’ve got little ones around, get them involved making these. They’re kiddie-friendly, easy to whip up and taste great! For another kid-friendly recipe check out these crispy kale chips.
Wholesome & Extra Crunchy Honey Joys with Nuts

Ingredients:
- 60 g butter
- 3 Tbsp runny clear honey
- 2 cups cornflakes
- 1 cup flaked almonds
- ½ cup cashews
- 4 Tbsp sesame seeds
- Pinch of salt
Method:
- Heat oven to 150 degree celcius. Line a 12 case muffin tray with muffin cases.
- Chop cashews into thirds or quarters.
- Add to a large mixing bowl the chopped cashews, flaked almonds, sesame sesame seeds, corn flakes and salt.
- In a saucepan over a low heat, melt together the butter and honey.
- Pour melted butter and honey over the dry mix. Using a spatula mix well to evenly coat.
- Evenly distribute the mixture into the muffin cases. Pat down and compact the mixture with the back of a tablespoon as you go. Ensure good pressure when you do this!
- Bake in the preheated oven for 10-12 minutes or until lightly golden.
- Remove from oven and stand for 10 minutes.
- Carefully lift out each muffin case and place on a plate or tray. Put into the fridge for 1 hour for butter-mix to solidify and harden.
- Transfer into an airtight container and store in the fridge.


Leave a Comment & Rate this Recipe
If you enjoyed this dish, please consider giving it a star rating when you post a comment. Star ratings help others discover my recipes online (and your reviews make my day! 🙂 ). Happy cooking and baking. Danijela x
2 Comments
Cannot WAIT to try these!
Thanks Liane! 🙂 Let me know how they go x